The technical challenge for the first bread week is a classic Cob. Paul allotted two and a half hours for this challenge which made me nervous because, in my experience, bread usually requires about two hours just for rising and proving, and needs at least half an hour to bake all the way through. I had a feeling that I would be cutting it pretty close on this one.
As we did last week, Evie prepared this recipe for me, giving me a list of ingredients and nothing else. Fortunately, I learned to make bread with Paul Hollywood's Bloomer from his Bread recipe book, and I decided that my best bet was probably to employ as many techniques from that recipe as I could.
So, I started the timer.
A pattern that I have seen so far in the challenges is that the ingredients are generally listed in the order that they are used in the process, which gives me some clues about the mixing method. For example, butter is listed second on the ingredients list, right after the flour. Normally when I think of butter, I think of a brioche, where the butter is kneaded in at the end. I decided to go with my gut and mix the butter in right at the start with the flour, rubbing it in with my fingertips, as I would in a scone recipe.
I added my salt and yeast to opposite sides of my bowl. Salt kills yeast, so they must remain separate as long as possible during the mixing stage.
I mixed all the dry ingredients together and then started adding my water a little at a time.
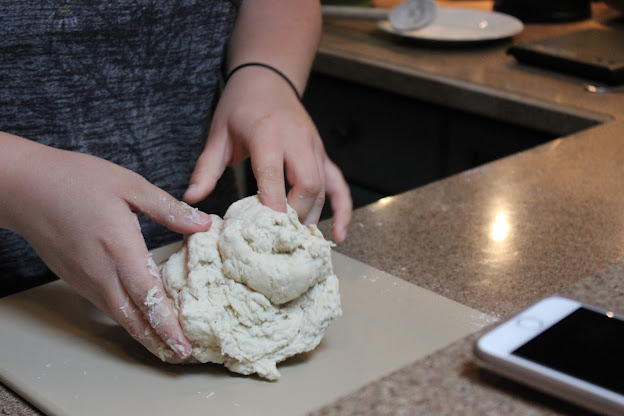
Once the dough came together, I turned it out onto my work surface and the kneading began. I added a little olive oil to my surface half-way through kneading to prevent sticking and to soften the dough.
The smooth ball went into a clean, lightly-oiled bowl which I put in a large plastic bag and placed in my proving drawer (my dad's stove has two ovens, so I use the small oven as a proving drawer, keeping the oven off but turning the light on - this creates the prefect stable environment for the dough to rise).
I took it out after about 35 minutes and determined that it had at least doubled in size.
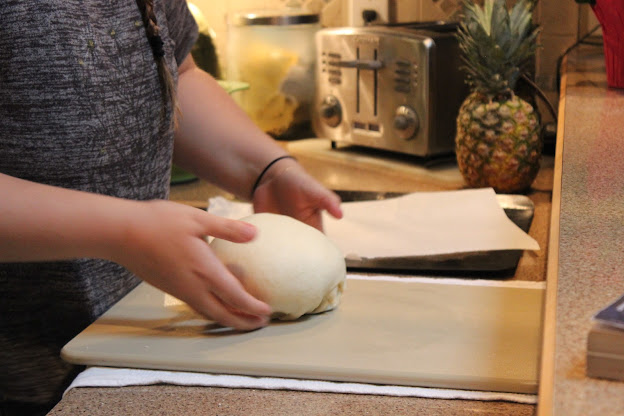
I knocked out the large air pockets and folded it a few times to build up its structure.
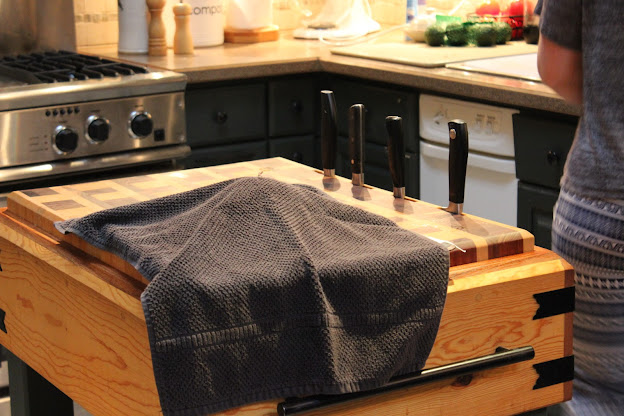
I shaped it into a ball and placed it on a lined baking sheet. I covered it with a towel and left it out on the counter for its second rise. While it was proving, I set the oven to 425F.
I let it prove for 35 minutes, and poked it to determine whether it was done proving or not. I poked it a little too hard and while it did bounce back slowly, it left a dent in the top of my loaf, which is embarrassing.
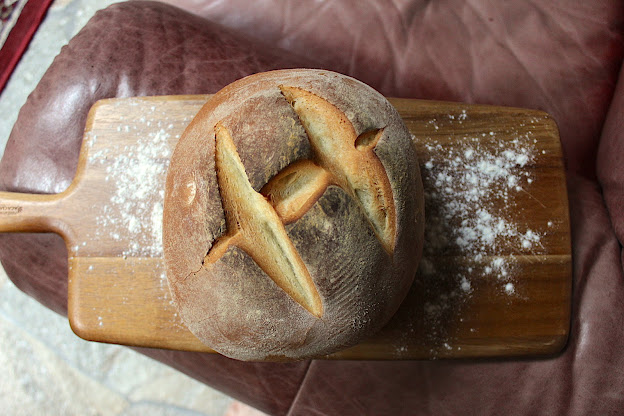
To finish it off, I ran my hands under the tap and moistened the top of the loaf and then floured it. I then scored the top with a big H for Hayley.
It was finally time to put it in the oven! I poured about a litre of water into a roasting tin on the tray below the loaf to build steam in the oven, which gives the loaf a nice shiny, crusty exterior.
And then I sat and watched it bake.
If you're ever wondering why my hair seems to always be wet in my baking pictures, it's because I generally go for a run before I bake anything. That way, I can eat bread without feeling guilt.
I checked the loaf after 30 minutes, and it didn't sound hollow enough when I tapped the bottom, so I put it back in for another 5 minutes.
And then... voilà!
Time: 2 hours, 11 minutes
The cob smelled amazing. It also had risen quite a bit and looked far taller and rounder than any of the cobs on the show. I was worried that this might mean that the interior would be full of air pockets or maybe that it would be dense or tough.
We waited for it to cool down for about an hour before cutting into it.
Once we came back to it, we noticed some lovely cracks along the sides of the loaf.
Cutting into it made the most satisfying crackling noise, and the exterior texture was beautiful and bouncy!
And let me tell you, it tasted amazing. The structure of the bread is so light and fluffy that it almost tastes like potato bread. I gave a piece to my mom and the first thing she said was "make more."
I think I would have ranked pretty high with this bake. I think I have redeemed myself from my signature bake.
Tune in on Friday when I attempt to bake six different kinds of bread at the same time!
Recipe used:


I am really enjoying following your bread week, in particular. That loaf looks FANTASTIC!! Congratulations!! I learned from you .... I didn't know that tip about salt killing the yeast. Thanks for the tip and how you managed it!
ReplyDeleteThis looks incredible!! Don’t know if there’s enough garlic butter in the world to slather on that
ReplyDelete